Let me introduce myself. I'm Muhibbudin Suretno. I'm the creator and maintainer of hibuno.com. This site serves as my personal portfolio, featuring articles, tutorials, and both open-source and paid projects. These projects can include user interface templates, frameworks, prototypes, microservices, or ready-to-use projects in the form of websites, desktop applications, or mobile apps.
Why is it called hibuno?
There's no specific reason; hibuno itself is actually an abbreviation of my name, Muhibbudin Suretno. Because people often have difficulty pronouncing or writing my full name, I hope this abbreviation will make things easier for others, and of course, make it easier to pronounce as a social media username, for example.
What will be discussed?
Simply put, the text you're reading now is stored in a file called index.json in the repository https://github.com/hibuno/hibuno, which you can access and learn for free. So, I set out to create my own content management system that's easy to use, loads very quickly, is inexpensive (read: free), can run on Vercel, Netlify, or other providers, and includes an AI-based text editor.
And of course, the repository I previously embedded not only stores content for articles, but also the entire site, including the admin panel, text editor (WYSIWYG: what you see is what you get), and several other features that you can explore in depth in the available source code.
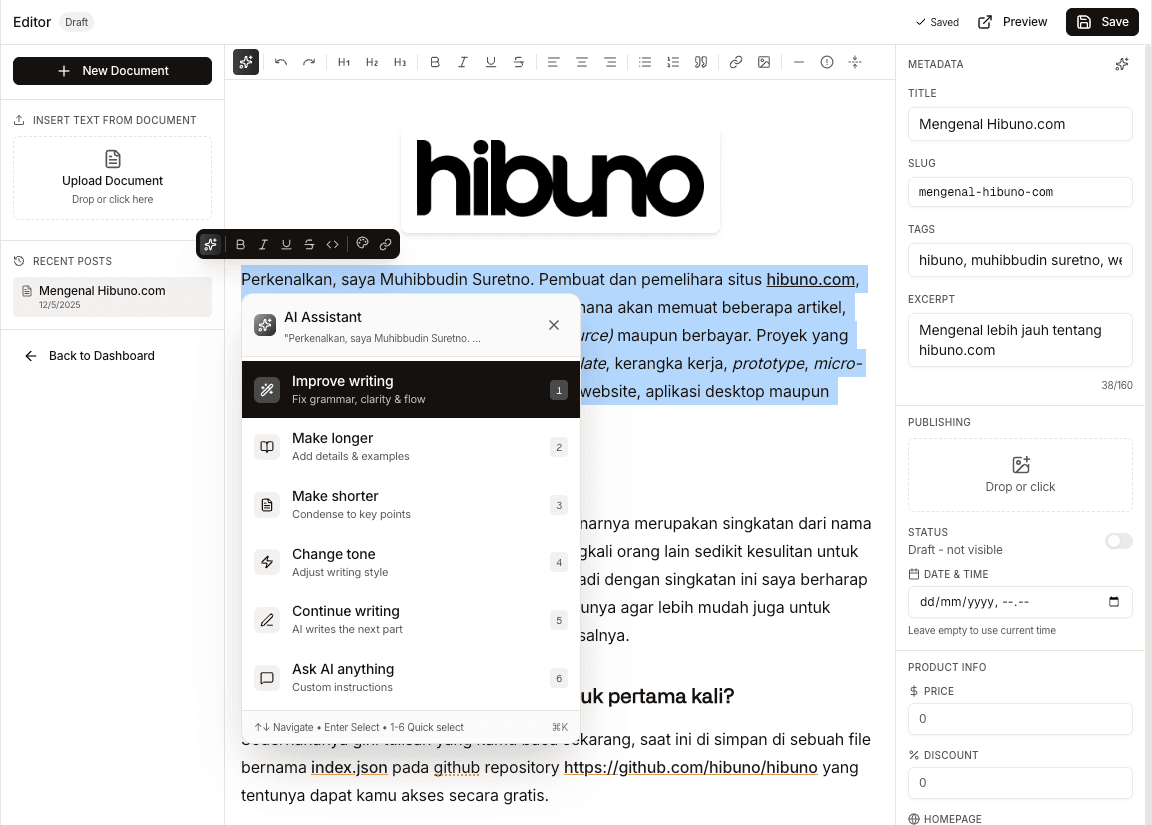
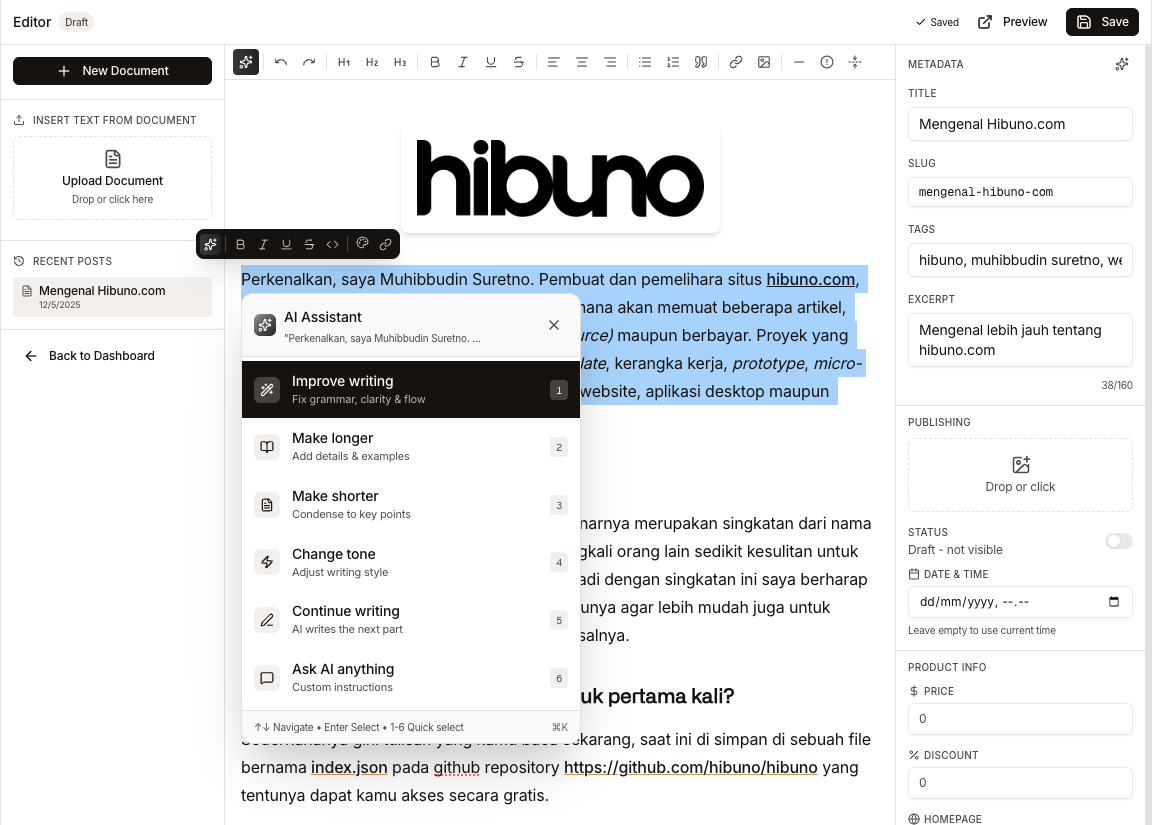
I built the text editor from scratch, based on https://tiptap.dev with several additional custom features and AI integration that can be connected to well-known providers like OpenAI, OpenRouter, Claude, Mistral, etc. To help you create articles that are neater, more organized, and more grammar-friendly, the appearance itself is as follows.
How is it different from other CMSs?
WordPress is indeed very mature and comprehensive in terms of features, but I'm pursuing simplicity, not only in the article writing process but also in easier delivery (read: deployment).
On this site, I use Next.js 15.5 technology with the SSR concept, where the editor stores data in the content directory, while images are stored in the public directory. This means the site uses no databases or third parties to store any of its data, and (currently) only uses a single artificial intelligence (AI) service to run the AI assistant feature.
So, how do I add the data? Is it secure?
Whether it's secure or not is relative, depending on how we store the key. This site only uses a single key (basic key) as a barrier between readers and administrators. If you access https://hibuno.com/admin, you'll be asked if you have the key to access the admin page.
This key is stored securely in the environment variables document where this site runs, but there's actually no particularly important data on this site, because ultimately, every post I upload can also be read in the available public repository, including the images or videos displayed.
Conclusion, but also not…
Before concluding, let's delve deeper into the features available in the artificial intelligence-based text editor I discussed earlier. Of course, through the following demonstration video, for clarity and easier understanding.
That concludes my discussion of the first article on this site. I hope it gives you an idea of what kind of writing and content I'll be producing next.
See you next time 🔥
Oh yeah, one more thing. The equipment I used to record the demonstration video is one I made myself, so we'll discuss it another time.